I am soooooooooooooooooo excited about this digi release in particular because I am now creating digis for Clear Dollar Stamps. This is my first month. I am introducing my first two digis this month. So excited.
Come back tomorrow for my blog candy to celebrate!You can see the full reveal of all the sets on the
CLEAR DOLLAR STAMPS BLOGFirst up is my new digi
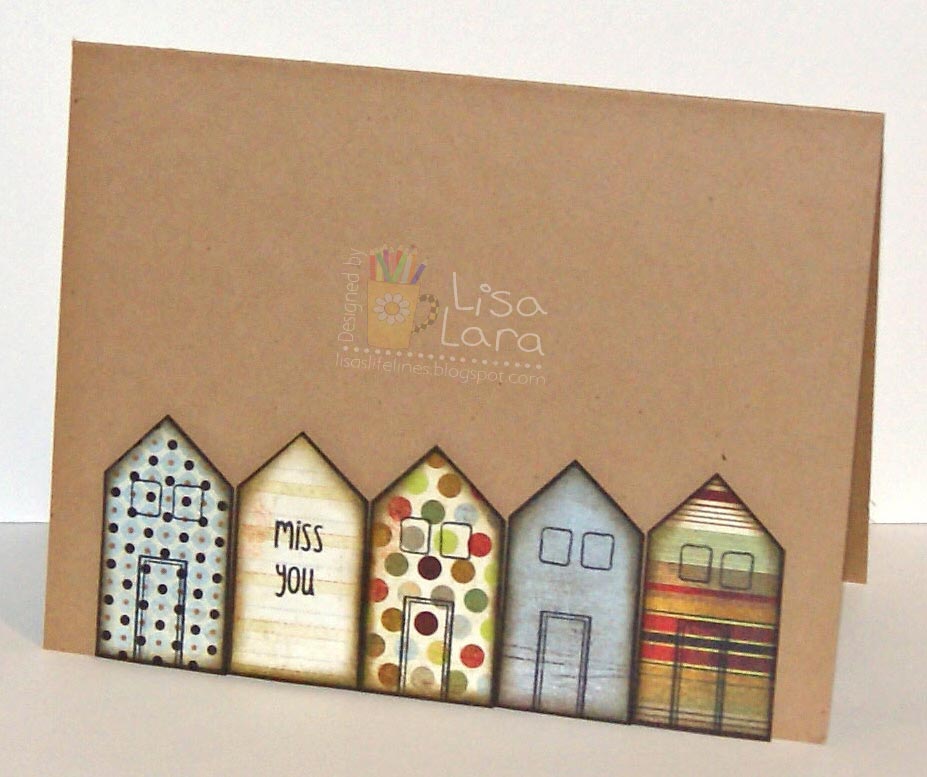
NESTERSI made a gift set of thank you cards and a matching box.

Here is the full set

Close up in red

Close up in orange

Close up in yellow

Close up in green

Close up in blue
RECIPE:
STAMPS:Nesters Digi (Clear Dollar Stamps)
PAPER:Cottonball White, Worn Parchment (Clear Dollar Stamps), Picadilly (Basic Grey)
INK:Printer, Tim Holtz Distress Ink Walnut Stain, Copics R35, YR04, Y17, YR23, Y21, E31, YG23
ACCESSORIES:Cuttlebug, CB Houndstooth Embossing folder, Dimensional tape, Micro brads (from Clear Dollar Stamps), Magnetic snaps (Basic Grey), Tim Holtz Blender Tool, Scor-Pal, 1" circle punch
TECHNIQUES:Dry embossing, Paper Piecing, Simple Copic Coloring, Gift card set, Gift card box

Second up is my new digi
CHEEPSOn the front of my card I aranged my digis in Publisher and printed out then colored. I love these teensy tiny googley eyes. They work perfect here. For the stitching......I used my sewing machine without thread.

Here is my inside. I used Publisher to arrange my digi then washout. It is printed out onto copy paper for the inside.

Matching envelope. I arranged my digis the way I wanted in Publisher. Then I printed onto copy paper. Then I put removeable tape to my envelope and adhered over my image on the copy paper and ran back through the printer. EASY.
RECIPE:
STAMPS:Cheeps digi (Clear Dollar Stamps)
PAPER:Cottonball White, Night Eclipse (Clear Dollar Stamps)
INK:Printer, Copics Y17, YR04, YG06, No RV14
ACCESSORIES:Sewing Machine (no thread), Computer, Printer, Micro googley eyes
TECHNIQUES:Simple coloring, digital, sewing (no thread)

The last digi I am using is designed by Laurie Wilson
HAPPY TRAILS CAMPER COLOR
The background paper I used is from this digi. I printed out the steam then cut out using a spellbinder rectangle die. Then I paper pieced over the steam lines. The s'more I printed out three. Cut parts, embossed with eb folders, sponged and popped up.
RECIPE:
STAMPS:Happy Trail Camper Color Digital Image (Clear Dollar Stamps)
PAPER:Cottonball white, Worn Parchment (Clear Dollar Stamps)
INK:Printer, Tim Holtz Distress Ink Walnut Stain, Vintage Photo
ACCESSORIES:Cuttlebug, Spellbinders Large Rectangles, CB Houndstooth, Tiny Bubbles Embossing Folder, Sizzix Plaid embossing folders, Paper piercer and mat, Sewing Machine, TH blender tool, dimensional tool
TECHNIQUES:Dry Embossing, Stitching, Paper Piercing, Digital, Sponging
CHECK OUT MORE DESIGN TEAM CREATIONS
BarbCandyCassieDeanneDeedeeJenniferKathyLaurieLindaSandySarahStephanie
TamekoTrudyTHANK YOU FOR VISITING. ENJOY YOUR DAY!